GW Depths focuses on trying to assemble [[Thespian’s Stage]] with [[Dark Depths]] to create an instant-speed [[Marit Lage Token]]. GW Depths uses cards like [[Crop Rotation]], [[Elvish Reclaimer]], and [[Knight of the Reliquary]] to assemble the combo and to find other disruptive lands like [[Wasteland]] and [[Bojuka Bog]]. There are many different variations of [[Dark Depths]] decks in Legacy, but GW Depths relies on playing more creatures and white sideboard cards. Most Legacy players are familiar with playing against [[Dark Depths]] decks, but the GW Depths version has several differences and has been picking up in popularity, so it’s important we are prepared for this matchup.
How does GW Depths matchup against TES?
[[Green Sun’s Zenith]], [[Crop Rotation]], [[Knight of the Reliquary]] – These are the cards that GW Depths uses to tutor for specific creatures or lands. They help give the deck the consistency and flexibility that the deck needs to combo off reliably and to disrupt the opponent.
[[Dark Depths]], [[Thespian’s Stage]] – [[Thespian’s Stage]] targeting a [[Dark Depths]] will create a copy, but that copy doesn’t come with the counters on it, so it will immediately create the [[Marit Lage Token]]. Because the combo pieces are lands, they can be tricky for TES to interact with. The rest of the deck is built around trying to assemble and protect this combo, so it is consistent and fast at doing so.
[[Wasteland]] – [[Wasteland]] can either be really good at disrupting TES or not good at all. Because we are a four-color deck, having the right number of lands and colors is extremely important in order to be able to combo off. If TES keeps a land light hand and gets hit with a timely [[Wasteland]], it could set us back several turns. Against another combo deck, this can give the opponent the opportunity to combo off first. Some games, though, [[Wasteland]] might not be good enough if our hand contains several pieces of artifact mana. This gets around [[Wasteland]] nicely, and is an important factor when evaluating the opening hand.
[[Collector Ouphe]], [[Gaddock Teeg]], [[Knight of Autumn]] – All of these creatures are in the main deck or the sideboard as single copies in order to be found by [[Green Sun’s Zenith]]. Each of these creatures plays a different role in disrupting opponents, but unfortunately, they are all good against TES.
Deck List
Main Deck
- 4 [[Burning Wish]]
- 4 [[Wishclaw Talisman]]
- 4 [[Brainstorm]]
- 4 [[Ponder]]
- 1 [[Ad Nauseam]]
- 1 [[Echo of Eons]]
- 1 [[Tendrils of Agony]]
- 4 [[Veil of Summer]]
- 2 [[Defense Grid]]
- 4 [[Rite of Flame]]
- 4 [[Dark Ritual]]
- 4 [[Lion’s Eye Diamond]]
- 4 [[Lotus Petal]]
- 3 [[Chrome Mox]]
- 3 [[Mox Opal]]
- 4 [[Bloodstained Mire]]
- 2 [[Polluted Delta]]
- 1 [[Verdant Catacombs]]
- 1 [[Tropical Island]]
- 1 [[Badlands]]
- 1 [[Underground Sea]]
- 1 [[Volcanic Island]]
- 1 [[Taiga]]
- 1 [[Swamp]]
Sideboard
- 2 [[Carpet of Flowers]]
- 2 [[Hope of Ghirapur]]
- 2 [[Abrupt Decay]]
- 1 [[Chain of Vapor]]
- 1 [[Witherbloom Command]]
- 1 [[Thoughtseize]]
- 1 [[Grapeshot]]
- 1 [[Empty the Warrens]]
- 1 [[Tendrils of Agony]]
- 1 [[Pulverize]]
- 1 [[Echo of Eons]]
- 1 [[Peer into the Abyss]]
Ways to Win This Matchup
Our Game Plan In game one, this matchup doesn’t have much interaction from either side. TES doesn’t have any interaction, and GW Depths will have just a few copies of [[Abrupt Decay]], and maybe a [[Knight of Autumn]]. Most of the first games are going to come down to racing to combo, and that favors TES because we have a much faster combo turn. TES has a wide variety of opening hands that we can keep because we have the faster combo, and we don’t have to worry about much interaction. After the first game, there’s a lot more disruption from both decks. The games are either going to be much faster or slower depending on the make up of the hands. TES is going to be trying to play under the disruptive creatures and faster than the opponent can make a [[Marit Lage Token]]. If our hand can’t do that, then we need to prepare for a longer game of using our interaction to disrupt their combo or answering a permanent that is preventing us from comboing.
The key turns for this matchup are going to be the second and third turns. There isn’t any pressure for us to have a turn-one kill, but by turn three, we need to be comboing off or we can expect our opponent to soon. The more turns that pass by the more likely the opponent is to create a [[Marit Lage Token]] token or have some permanent that prevents us from comboing. When evaluating hands, determine if there’s a high likelihood of comboing before turn three or if there is some interaction. If neither is true, it’s probably a mulligan.
Sideboarding
-4 [[Veil of Summer]], +2 [[Abrupt Decay]], +1 [[Chain of Vapor]], +1 [[Witherbloom Command]]
The opponent’s only primary way of stopping us from storming is going to be with lands and creatures. This is how GW Depths assembles their own combo and disrupts us from ours. This means we want to bring in all of our ways to interact with permanents, like [[Abrupt Decay]], [[Witherbloom Command]], and [[Chain of Vapor]]. In order to make room for these cards, [[Veil of Summer]] is an easy cut. GW Depths isn’t trying to use discard or counterspells, so [[Veil of Summer]] does very little in this matchup.
Game Play
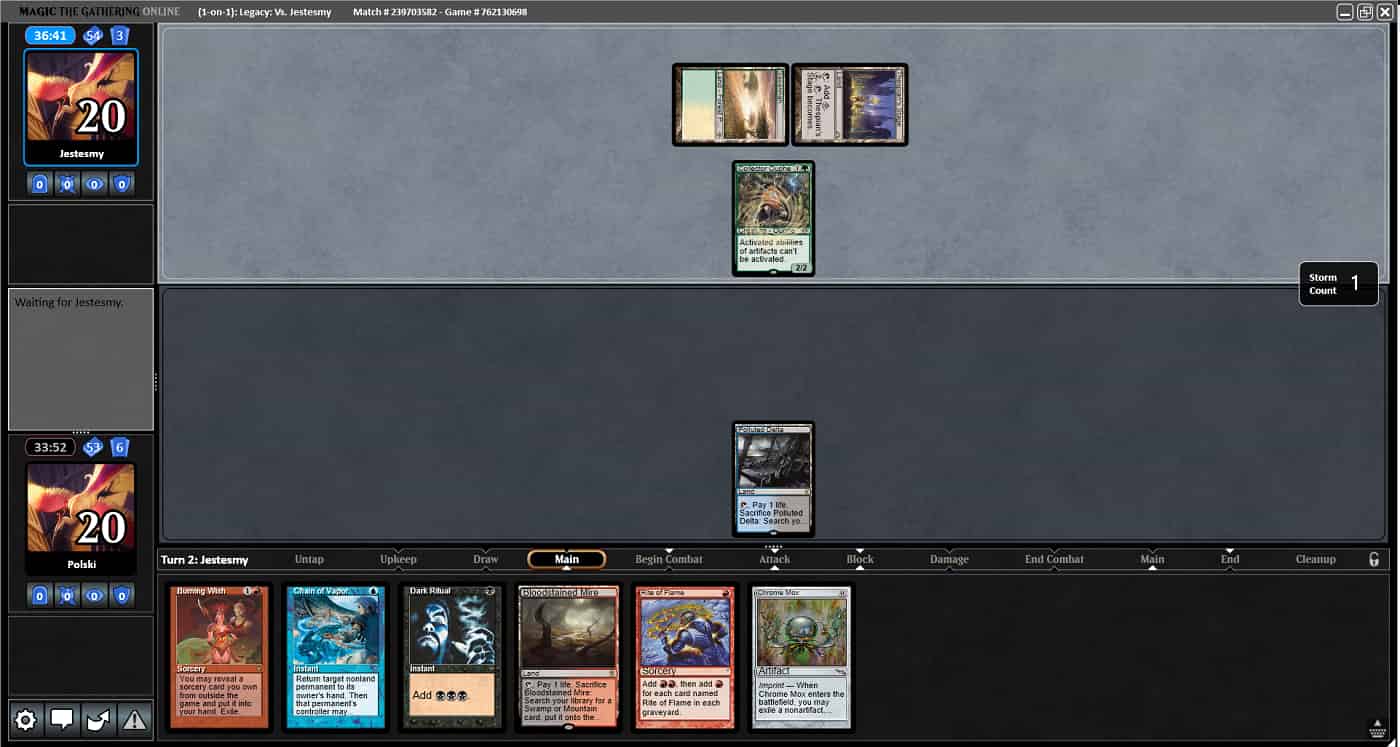
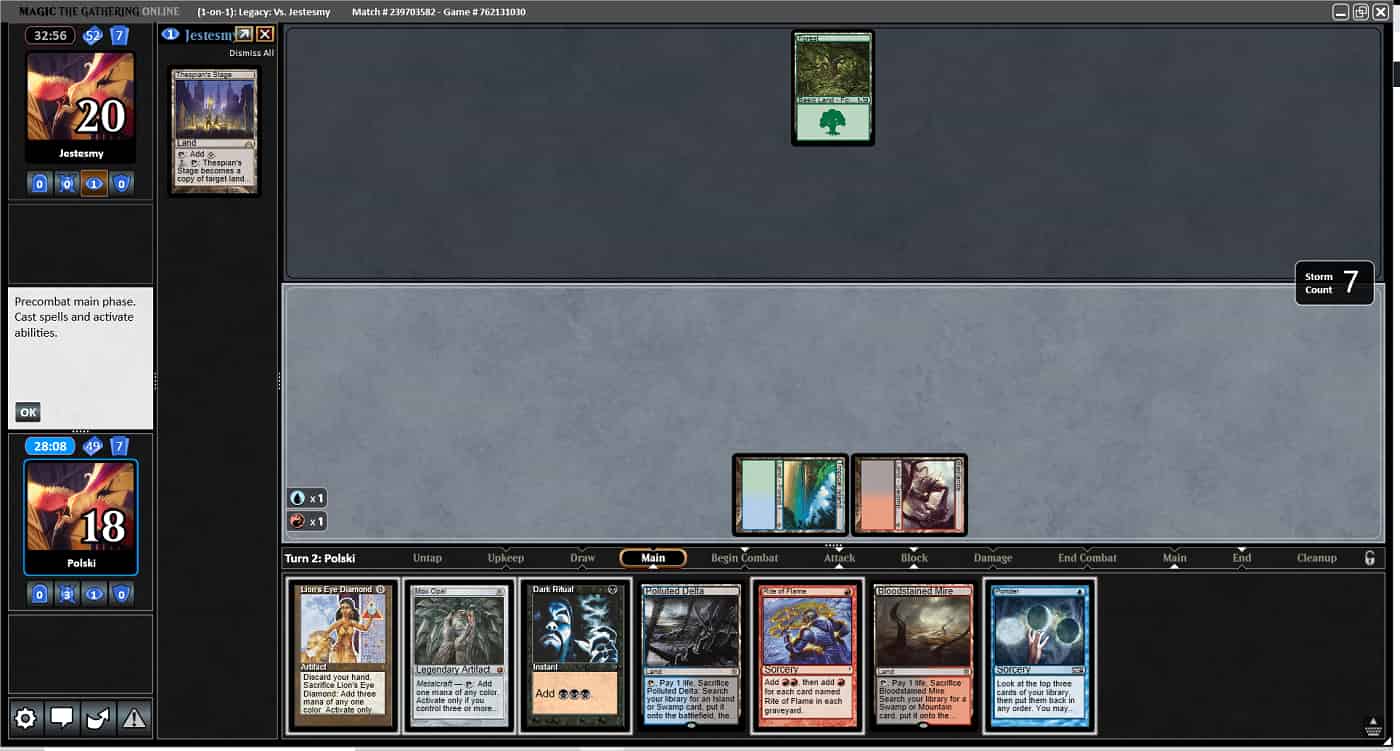
The first game we played wasn’t very exciting. I had a turn-two combo on the play, and the only interaction the opponent could have had was a [[Wasteland]]. They either didn’t have one or chose not to play it, and I won quite easily. For the second game, my opponent was on the play and I kept a hand with several mana sources, a [[Burning Wish]] and a [[Chain of Vapor]]. This had the potential for a turn-two or turn-three combo with the right draws, or I could use the [[Chain of Vapor]] to slow the opponent down or to remove a disruptive creature.
Neither of us did anything on the first turn, but on my opponent’s second turn they cast a [[Collector Ouphe]]. I then had to decide if I wanted to end step cast [[Chain of Vapor]] on [[Collector Ouphe]] and hope to draw a mana source or a colored spell to exile with [[Chrome Mox]] in order to cast [[Burning Wish]] for [[Empty the Warrens]]. I doubted this was the best plan, but one of the reasons for playtesting is to try things, and to learn. I wasn’t quite sure how good [[Empty the Warrens]] is in this matchup, so I decided to go for this line.

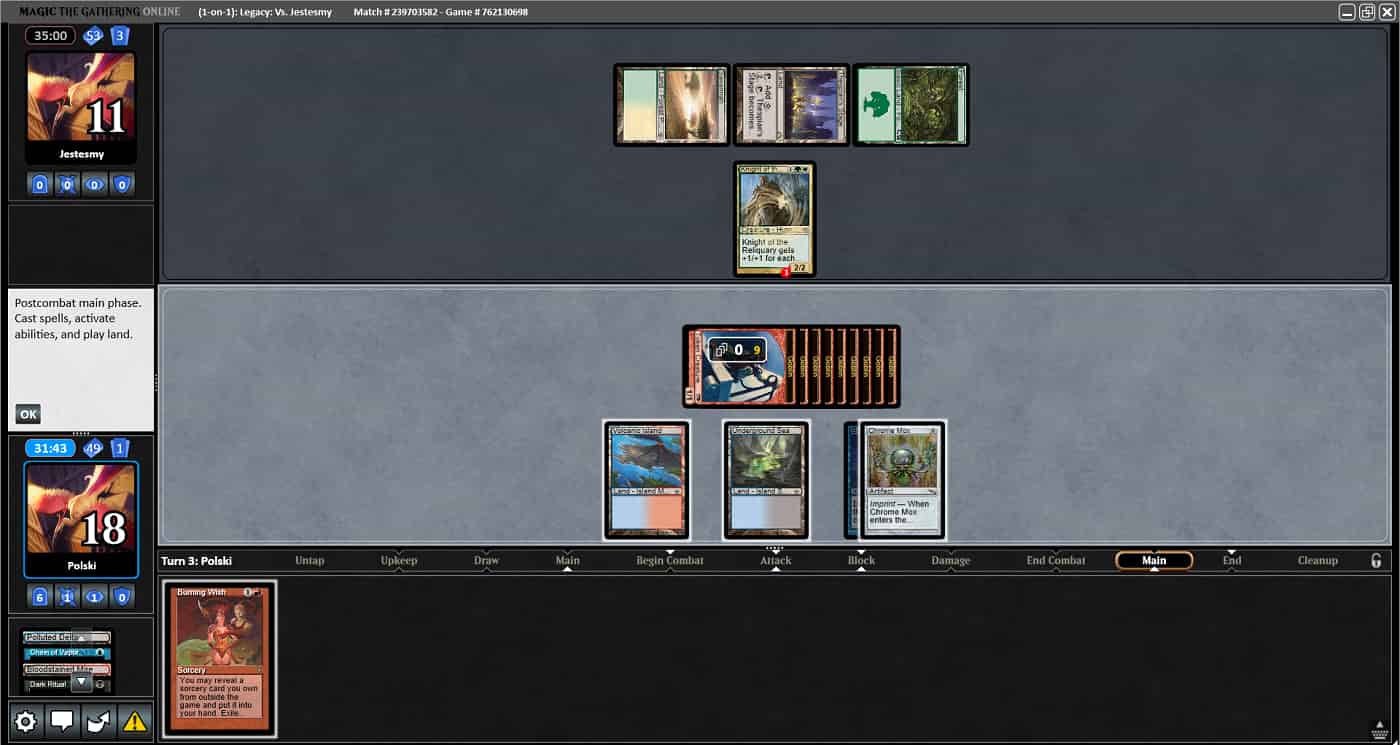
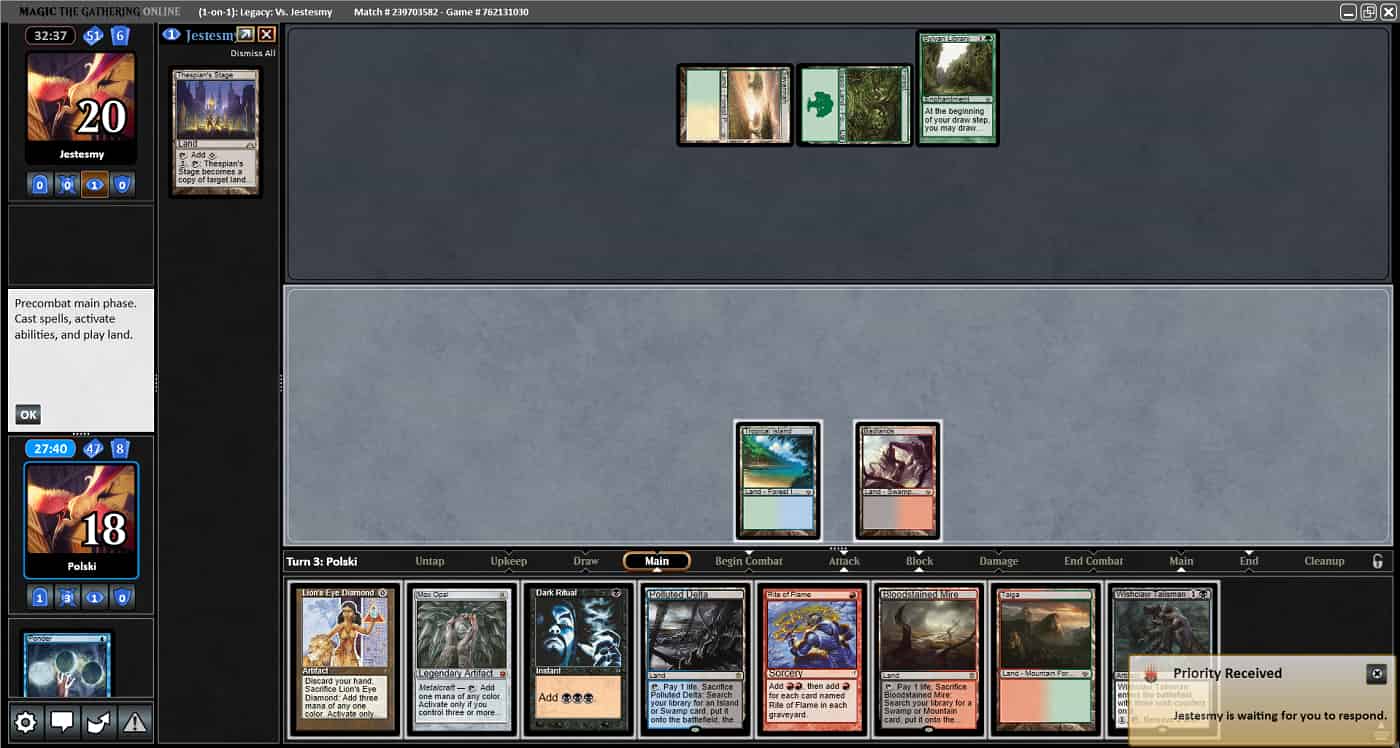
Thankfully, I did draw a [[Brainstorm]] to imprint to [[Chrome Mox]] to have exactly six mana to [[Empty the Warrens]] for 10 goblins.

On my opponent’s third turn they cast [[Knight of the Reliquary]]. Unfortunately, this would allow my opponent to make a [[Marit Lage Token]] token next turn with the [[Thespian’s Stage]] in play. For my turn, I drew a [[Burning Wish]] and used it to tutor for [[Grapeshot]]. I had hoped to attack this turn and my next turn and then try to win with the [[Grapeshot]] for any remaining damage. This would require me to draw something on my next turn to produce more Storm.

On my opponent’s next turn, they just played a land and passed back. I ended up drawing a land, which didn’t help my Storm count, so all I could do was attack. My opponent then floated three mana, sacrificed the basic [[Forest]] to [[Knight of the Reliquary]] and tutored for [[Dark Depths]], which they copied with [[Thespian’s Stage]] to create a [[Marit Lage Token]]. I couldn’t win this turn and had no blockers, so I conceded.
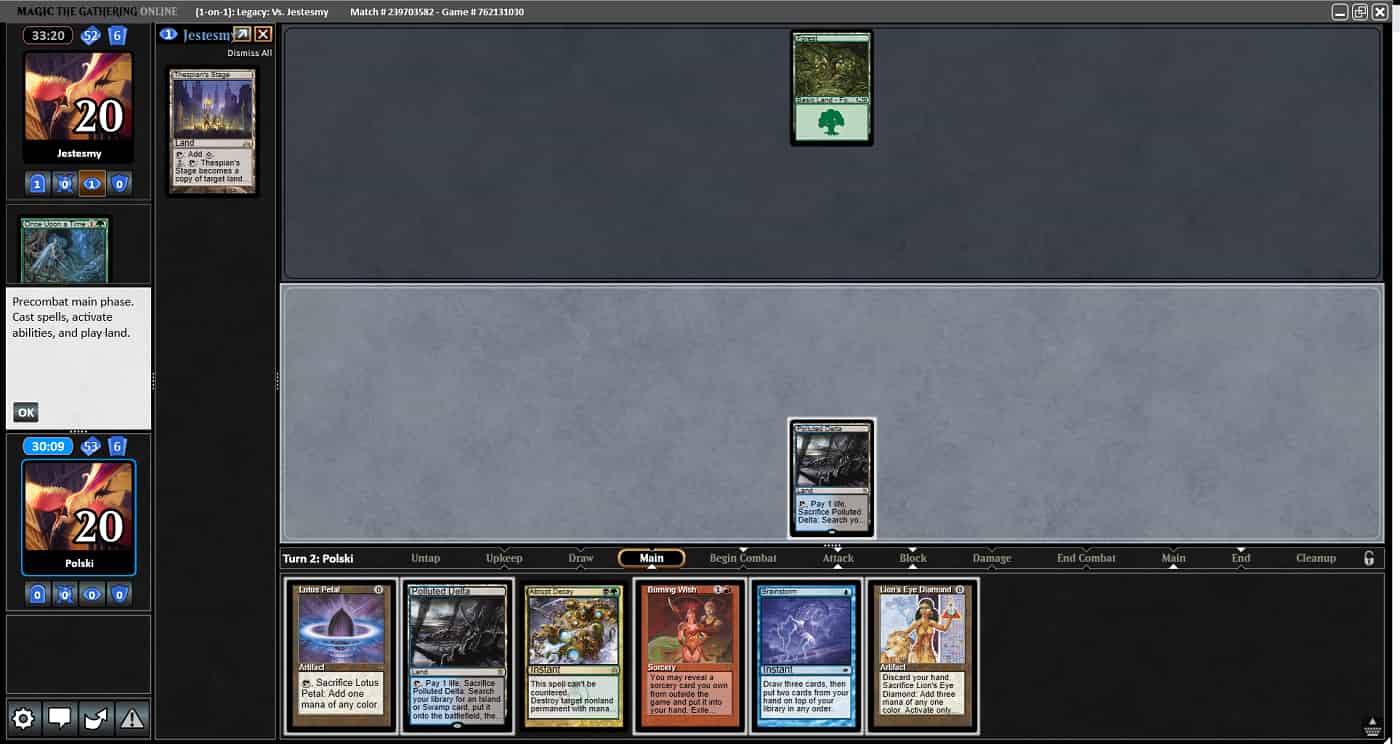
For game three, we both mulliganed down to six cards, and I had a slower hand, but it had mana, [[Burning Wish]], and [[Abrupt Decay]]. I thought it would be better than the average five, so I kept. On my first turn, I just played a land, and for my opponent they played a [[Once Upon a Time]] and chose [[Thespian’s Stage]]. My hand went from slow to being able to [[Echo of Eons]] on turn two when I drew a [[Lion’s Eye Diamond]] for the turn. I had the line of [[Burning Wish]] for [[Echo of Eons]] and then use [[Lion’s Eye Diamond]] to put it into my graveyard and flash it back. The opponent had a green mana open and could [[Crop Rotation]] for a [[Bojuka Bog]], but with this line, the opponent never gets priority between [[Echo of Eons]] being in the graveyard and when it can be cast.

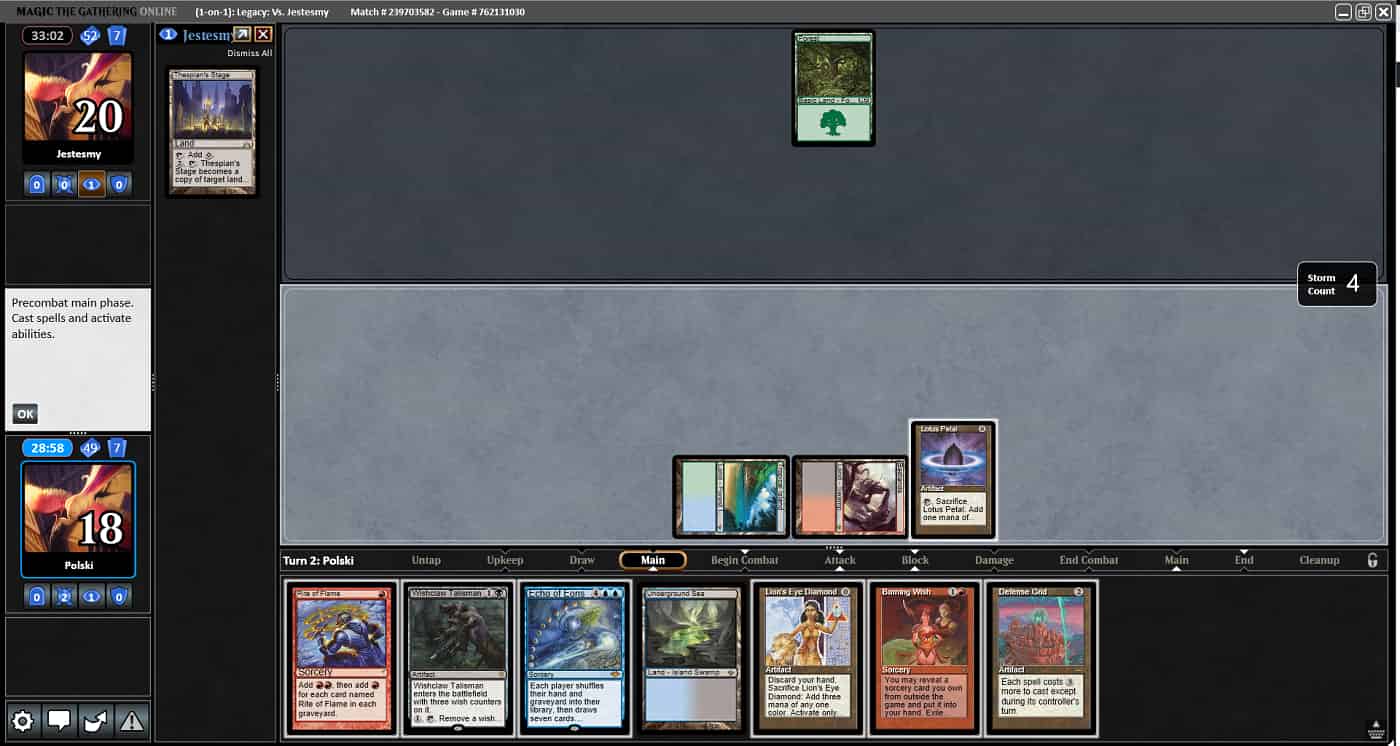
The opponent didn’t have a response, so it resolved and my new seven cards only had one option to continue to combo this turn, and that was to combine [[Lion’s Eye Diamond]] with [[Echo of Eons]] one more time to get seven new cards.

My next seven cards had lots of mana and just a [[Ponder]]. I would need this [[Ponder]] to find a payoff card in order to keep comboing.

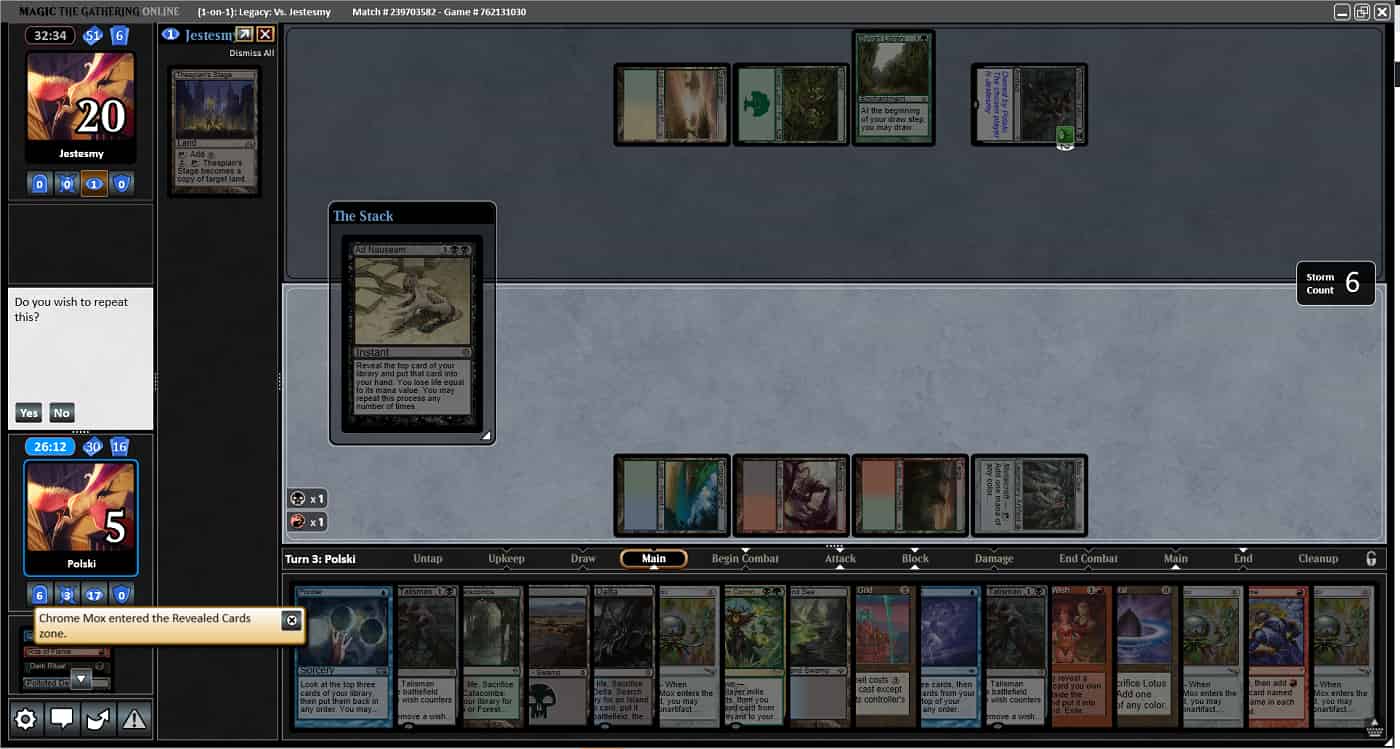
Unfortunately, it was just more mana, so I had to shuffle and I drew a land. I just had to pass the turn. My opponent played a land and a [[Sylvan Library]]. GW Depths doesn’t have too much disruption on turn two, so I wasn’t that afraid, but I would need to draw something good on my next turn because the opponent would have a lot of looks and many options for their third turn. The opponent then ended their turn, I took my draw step, and it was [[Wishclaw Talisman]].
That was the exact card I needed to be able to tutor and cast [[Ad Nauseam]]. As [[Ad Nauseam]] usually does from 18 life, I was able to draw enough cards to [[Tendrils of Agony]] for the win.

2-1
When play testing and analyzing a matchup, it is important to not be focused on things you already know and looking to confirm them, but rather to try things and either confirm your knowledge or learn something new. Not everything can be determined by just looking at decklists. An example of this was in the second game. I had figured [[Empty the Warrens]] probably wasn’t that great in this matchup, but that was just based on gut instinct. It was turn two and the opponent didn’t have any creatures in play. It looked like the opponent wouldn’t be able to combo for 2-3 more turns, so I thought I could win with 10 goblins. It turns out I couldn’t and my instinct was proven through testing. Once the game gets to turns 3-4, the opponent just has so many ways to assemble the combo that [[Empty the Warrens]] just won’t be fast enough. I hope you enjoyed this article and can take some of the lessons learned and apply them to your own play testing.